Tuesday, May 26, 2015

Hair Typing.

Hello folks!

Hope you are having a good week. 
I wanted to discuss hair typing. 

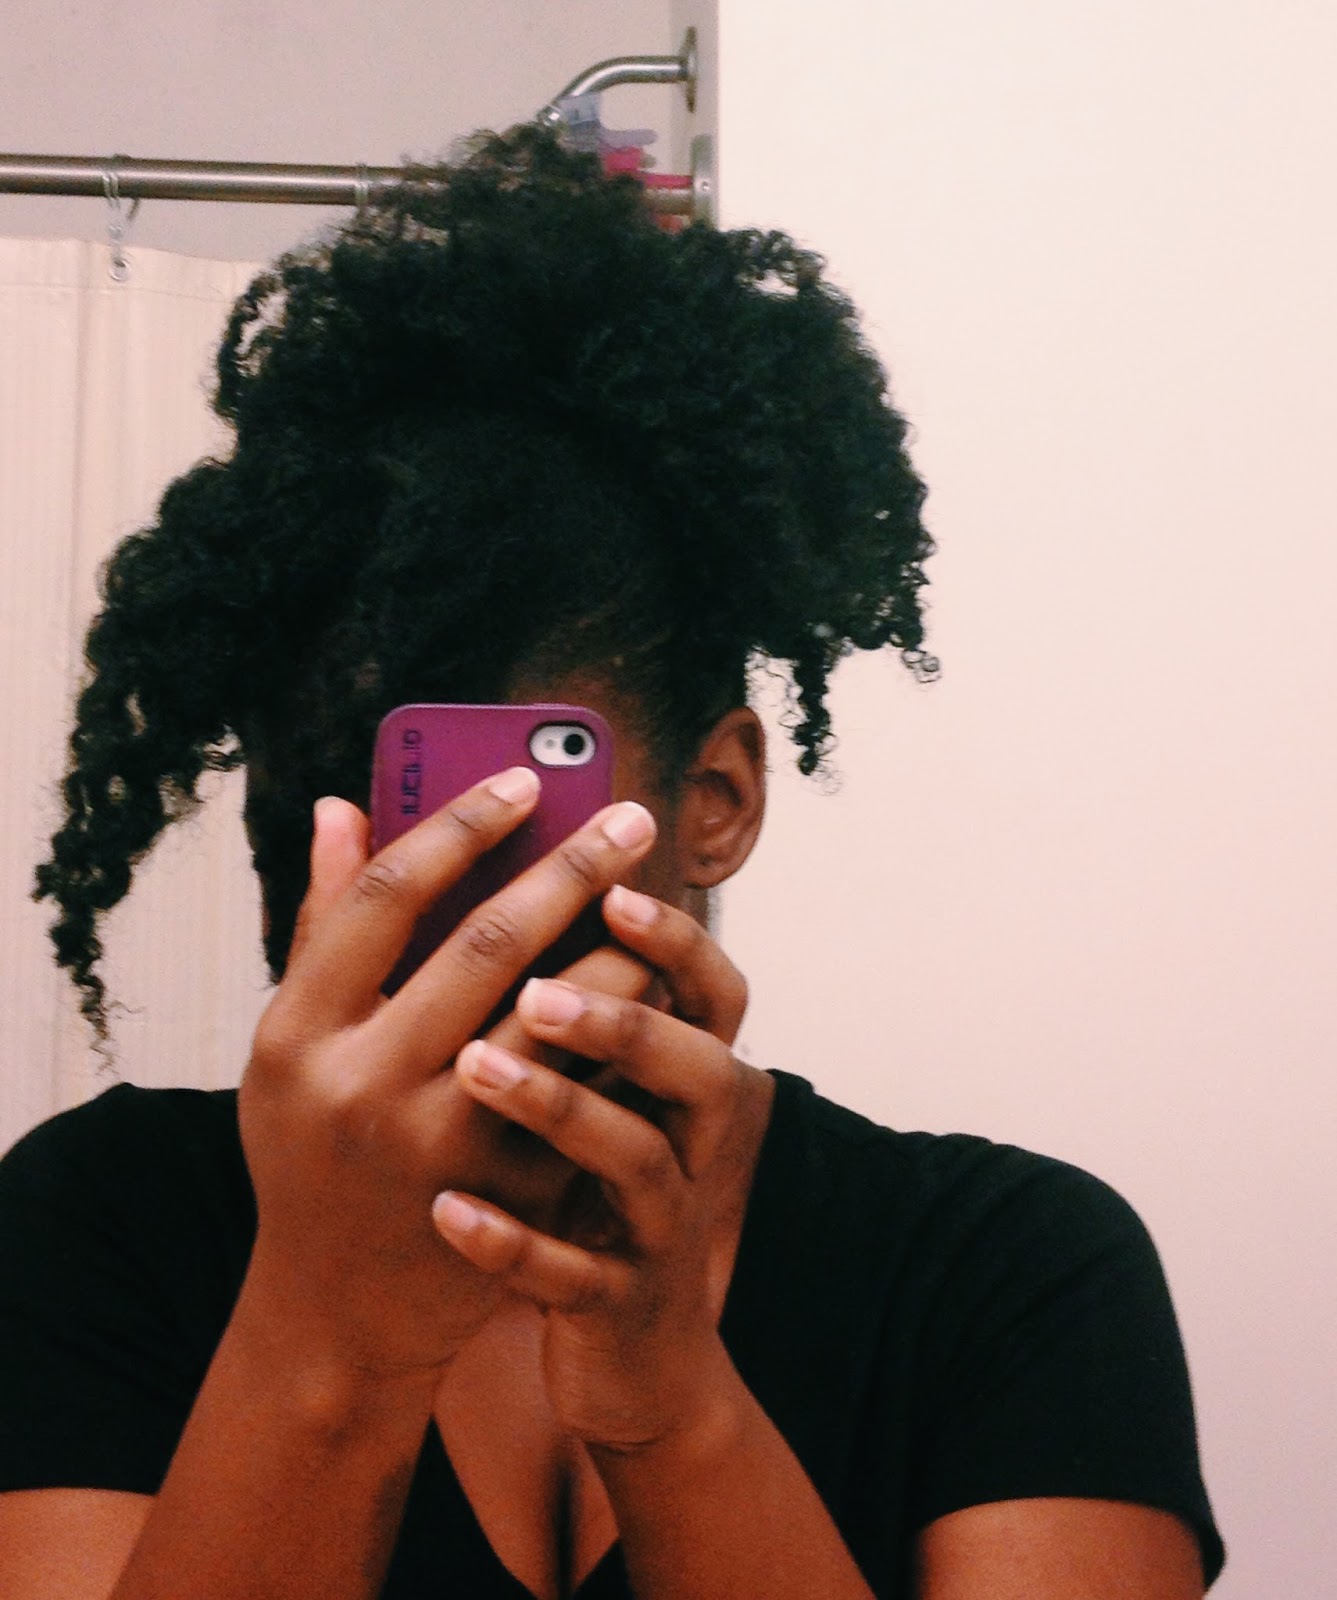
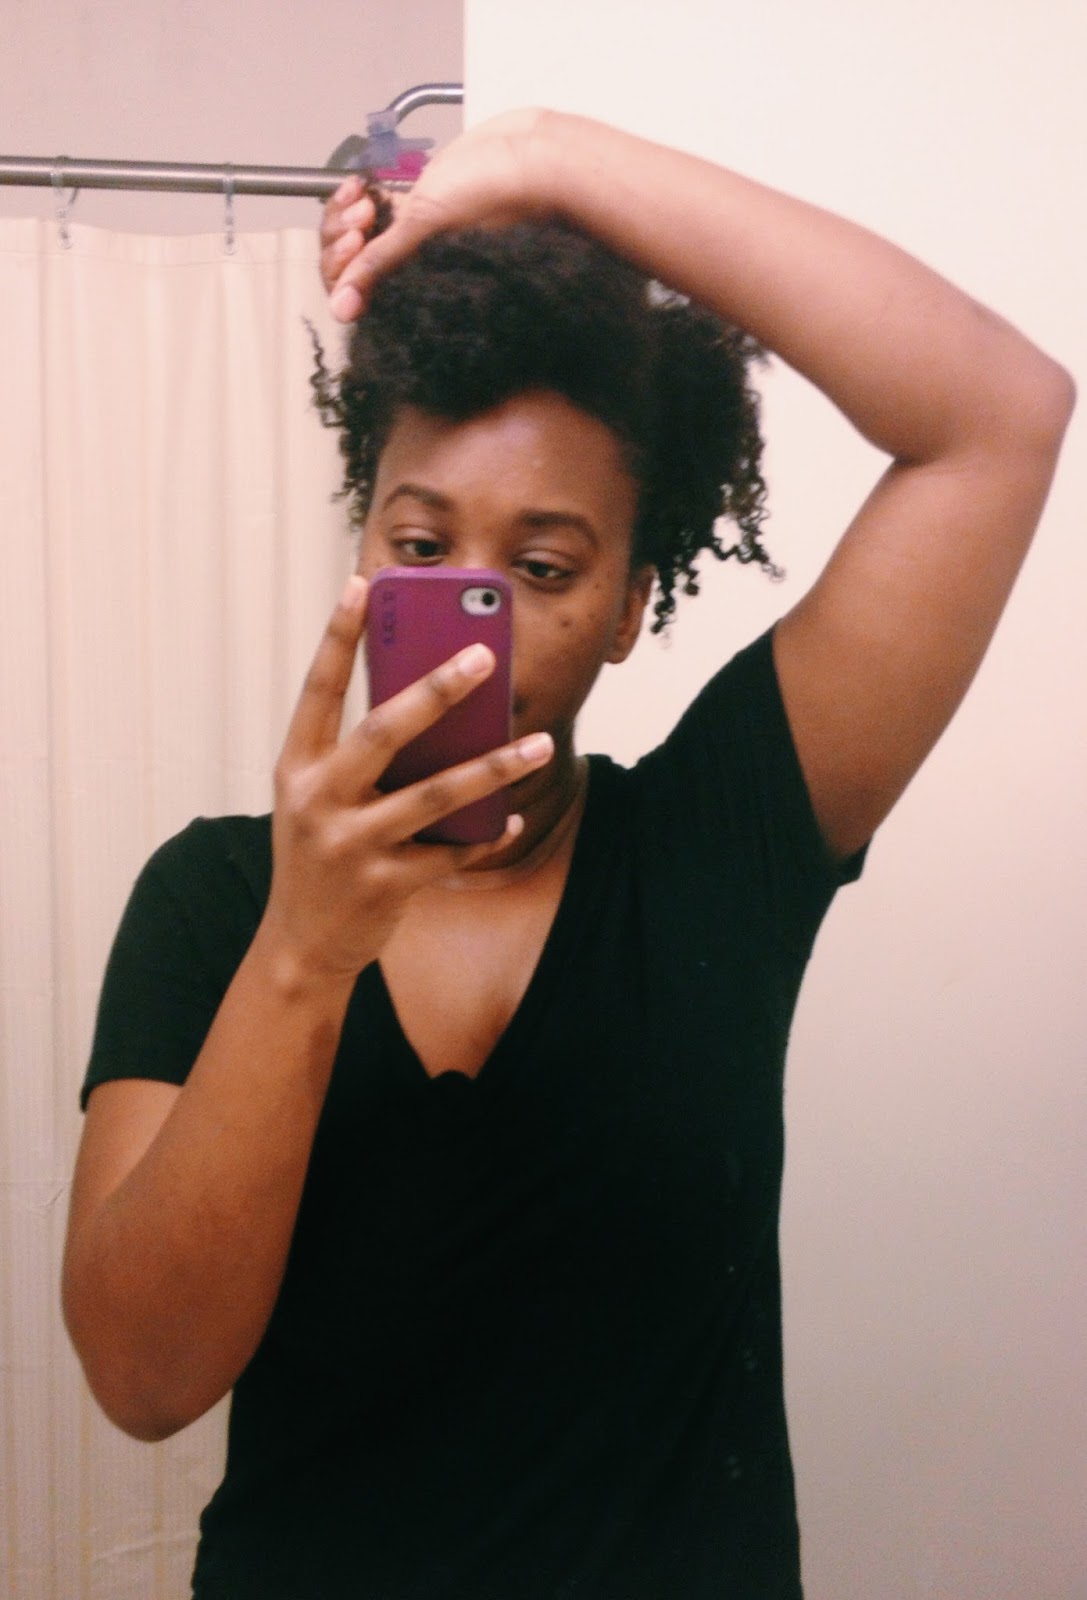
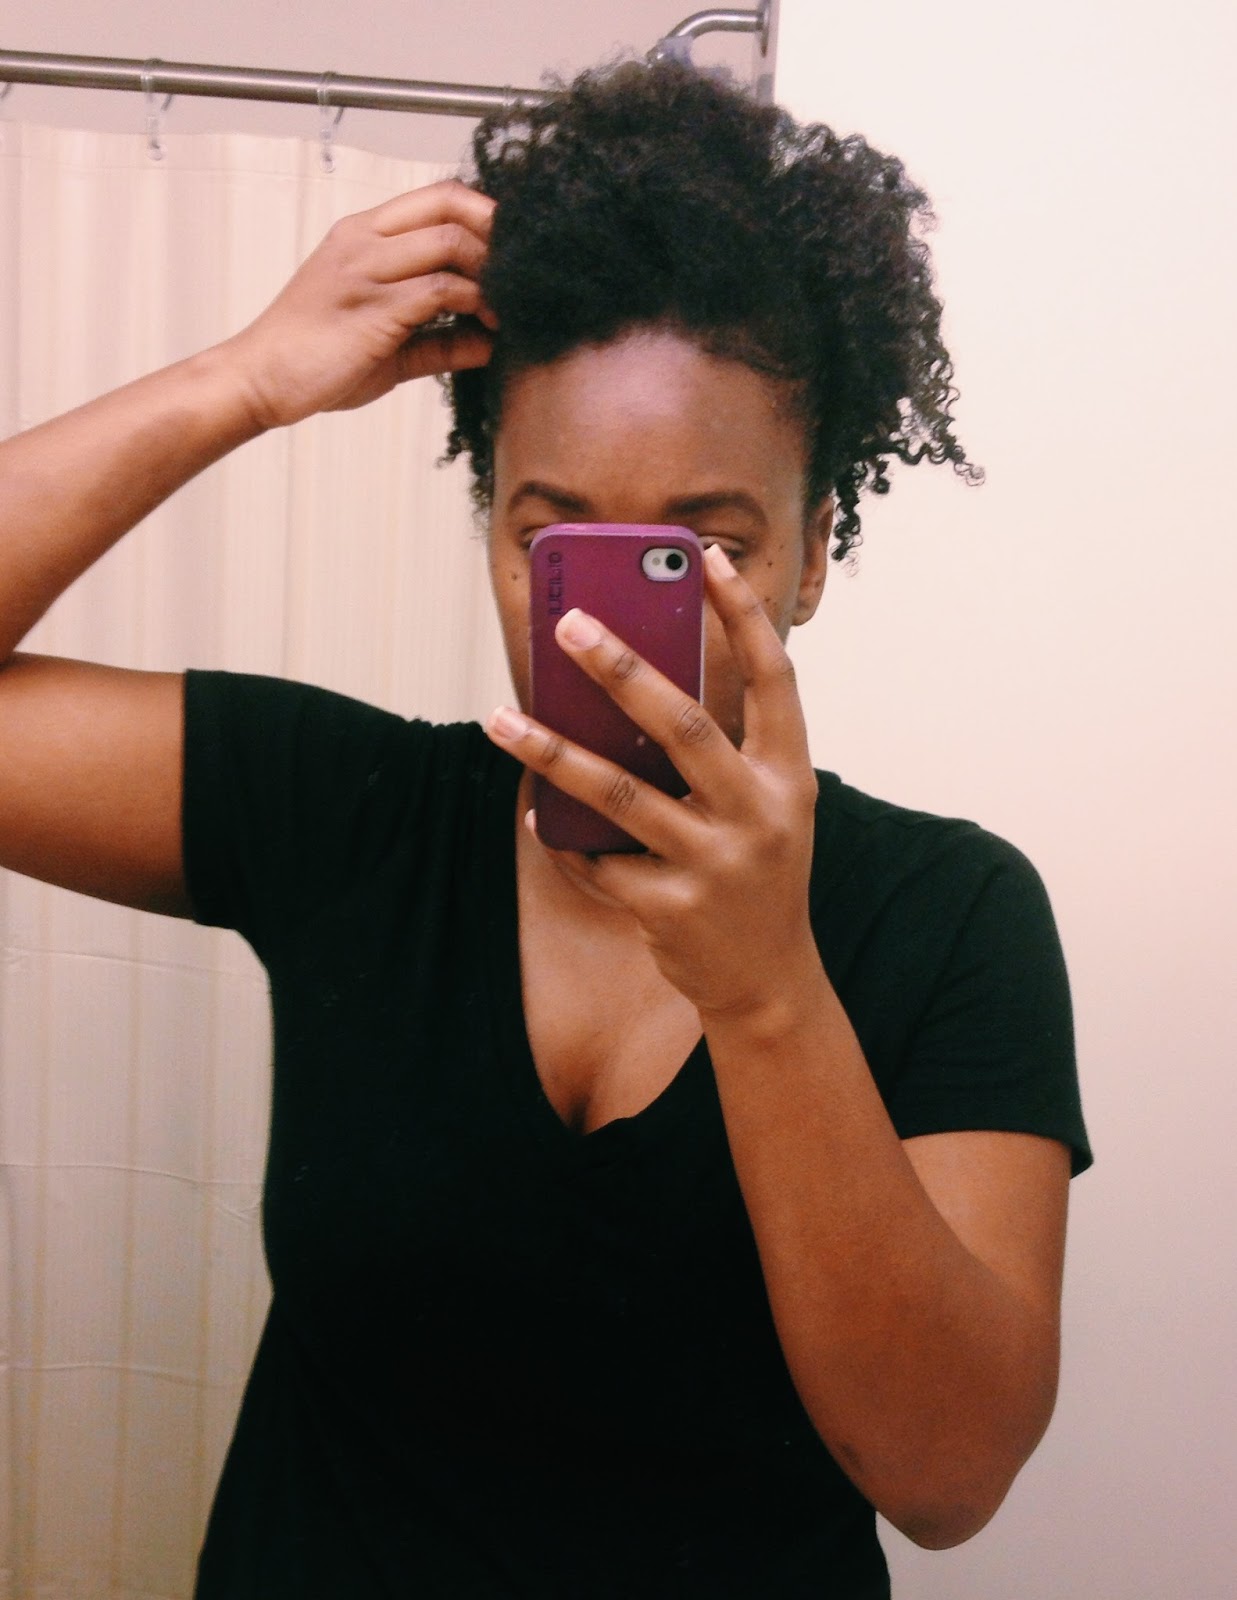
Hair typing natural hair is a double edge sword in my eyes. 

The great part about hair typing is that it serves as a guide for newly naturals who are trying to figure out how to take care of their hair. The newly natural phase is a learning curve that can be overwhelming. Fortunately, hair typing can definitely aid one when it comes to product selection. What works for some may not work for others. It helps a newly natural narrow down product selection ultimately saving money in the long run. To me, if you are a natural newbie (TeenyWeenieAfro or not) check out the hair typing charts as a guide. There are also websites that suggest products that work with specific hair types which is awesome. 


The worst part about hair typing is that it can be divisive between black women. Hair typing which was supposed to help others turns into a "better hair" or "curly vs. nappy" hair debate. To me, those conversations takes us back to the era of the paper bag test, or the field vs. house negroes scenarios. It becomes a hierarchy of "who comes closer to having more Eurocentric hair?". The ones with more "wavy", "more controlled", and "less frizzy" curls are at the top: highly valued, desired and admired. The ones without those characteristics however...will be at the bottom. Not as valued, desired, or admired by the majority. 

For that reason alone I am not too keen on hair typing. What's typically used for good, ends up being destroyed by a majority, and makes the minority feel less than valued. 


If it works for you..continue to use it! Just...make sure it's being used as a guide. Nothing more. 

That is all (in Miranda Priestly's voice).

Talk to you soon! 
Brie. 

Monday, April 27, 2015

Straightened Hair!

Hey guys! I am back again with another hair post! So I recently wanted to try something new with my hair and one thing led to another...which led to me straightening my hair! Surprisingly, the process was simple and easy...just time consuming. What was even more surprising was that I kept the style for over a week. I would've kept it longer but I became bored with my hair. Here's what I do to achieve my straight hair. Now..results may vary depending on your grade of hair and how it reacts to moisture as well as environmental factors so proceed with caution!!

1. Wash Hair: Self Explanatory


2. Blow Dry Hair: Before I blew dried my hair, I applied Argan oil, John Freda Frizz-Ease 3 Days  Straight Semi Permanent Styling Spray (that was a mouthful lol), Ion Straightening Solutions Healing Jojoba Flat Iron Cream and Ion Straightening Solutions Straightener, respectively. I was taking NO chances with reversion of my hair. Lol


3. REST(OPTIONAL): Because blow drying natural hair can take a lot out of a person physically. 

4. Straighten hair: I  used the FHI straightener, a fine tooth comb and Argan oil. Separate the hair into enough sections so that way you straighten your hair effectively. Also when I straightened my hair I combed the section 1st, applied the oil, and used the comb straightener method.


5. Clip split/dead ends: As needed of course. I unfortunately, became scissor happy and ended up with shorter hair than I expected....Y'all pray for me.
My hair was "flickin" low key. The Argan oil helped to make my hair look and feel healthy. I also received compliments on my hair. Some people thought that I went to a salon, which made me feel even better with my DIY straightening technique. 


I had pictures...But they were accidentally deleted! And I was going to use stock photos to compensate for my deleted pictures but they all look WHACK so don't scold me. Lol

**UPDATE**
I found pictures of my straightened hair!


Talk to you soon. 
Brie. 


Sunday, April 26, 2015

Saturday, February 14, 2015

Argan Oil!

Hola Folks! 

 
I hope your week went well. I'm just here to talk briefly about Argan Oil. I have heard about this oil for awhile however, I never got around to using it due to my affinity with coconut oil. Coconut oil has been my HG (holy grail) since my first year of being natural. 
 
However, for the last month, my hair has been really dry. And I mean really dry according to my standards. I decided to take a break from using my coconut oil and try Argan Oil. I figured,"Well since everyone has great things to say about it, let me stop being stubborn and try it."
 
I wanted pure Argan Oil. I did not want an "Argan Oil" product whose ingredients contain everything else but Argan Oil. I actually found it at TJMAXX for about $10.  


        The morning after using the oil. 
                  It looks so healthy!
 
 
Some of the benefits of Argan Oil:
**It contains omega-6 fatty acids, omega-9 unsaturated fatty acids, and linoleic acid which provides antioxidants and moisturizing properties for the hair.
**It can strengthen strands and also help with elasticity, making strands less brittle. 

 The verdict: I really like it! A little goes a LONG way which is great. The next day, my hair felt a lot more moisturized and it looked healthier. The last picture was taken after being caught in a snow flurry for 10 minutes. I think my hair held up pretty well. LOL
 
 
Let me know what type of oils you use in the comment section. 
 
Talk to you soon. 
Brie. 
Tuesday, February 3, 2015

Bantu Knot-Out!

Hey guys! :) I hope you all are doing well. This blog post will be how I do my bantu knot outs. They're pretty simple, but I have perfected it to where it is afro-porn/crush worthy (YAASS). If you have any different methods, let me know in the comments below! (That rhymed. Ha.)

1. Take hair. 

2. Section hair. 


My hair after a long day. Shrinkage! :)

3. Twist hair. Now for me, I make an individual twist because my hair is very fine and it can be hard to achieve a defined style. I have tried twisting the entire section of my hair, making a bantu knot, and ended up having beach-wavy hair (think Cosmopolitan hair style articles -__-). And yes. Black women can have beach wavy hair without curling wands and weave. FYI.
      a. Also, the product is important too. Use a product that gives your hair definition. I used my homemade           hair cream (my moisturizer) and Organic Root Stimulator (ORS) Smooth-N-Hold Pudding (styling               product)


Twist! :)

                                                                                               
4. Create knot!! Ergo...the Bantu Knot! What you are going to do is wrap the twist around itself. You are going to twist your hair around and it is going to form a small knot. That will be your base. Then, wrap the rest of your hair around that base. It should look similar to this:


Creep Life.
          

5. Leave it alone! :)

Trendy style. Just kidding. 
6. Take it down (no Chris Brown): You are going to unwrap the knot. If you created an individual twist before the knotting, untwist your individual twist (there's a lot of twisting going on here haha). You can use oil to create less frizz. If you don't want to use oil, that's fine too! It's completely up to you! (All these rhymes, I'm coming up with a rap name I swear. lol) 


7. Fluff to your heart's content! Just get rid of the obnoxious parts that may be in your hair, and fluff. I love big hair, so the people can stare. I strive to have Diana Ross/Chaka Khan hair! 

It was a good hair day.

My face during social media antics lol


Alright! Let me know what you do in the comments below! Quit being scurred! 


Also..call me G-Thizzle cause I have officially killed the rap game in this tutorial. 
Look for the mixtape this summer: "Fros on Fleek". 


Talk to you soon. 
Brie. 


Saturday, January 3, 2015

A Picture Heavy Puff/Pompadour Tutorial

Hey guys! I hope you all are doing well. This is the first post of 2015 woo!!
I recently celebrated my six year natural hair anniversary (December 21, 2009) and decided to post one of my well worn hairstyles: DA PUFF. There is a method to my puff. And I warn you: this will be a picture-heavy tutorial.


1. Start off with unstyled hair. 


2. Section off front part of your hair and "pick" the remaining hair at the roots for volume. I do this for a more fuller puff.


 3. **Optional** Use whatever holding agent around the perimeter of your head. I used Curl's Control Paste for the edges, and used my Denman to further slick down my edges. 


4. Place hair (not sectioned off) into a puff. I used a clean knee-high to create this puff.
 

"What are you going to do with the front section?" I'm glad you asked! 


5. Take the ends of the front section and create a small puff in the front (called a pompadour) and pin the ends once you achieve your desired pompadour. 


Or you can make a slanted pompadour... 


Or you can loosely twist the front section, create a pompadour and pin the ends. You get a textured pompadour...


Or you can create a Janelle Monae styled pompadour (Hint: it's in the flick of the wrist)... 


Or you can just go back to making the original puff/pompadour like I did. haha
Back view of puff/pompadour


I hope this helps. Let me know how you style your puffs in the comments! 

Talk to you soon.


Brie. 


Tuesday, October 28, 2014

Let's Talk About Shrinkage

Hey guys!

I hope that you guys are doing well since my last post! This post was inspired by my twist-out that I attempted earlier this week.

After my failed attempts of bribing people and whining, I washed my hair and applied my usual products. If anyone has natural hair, it is WELL KNOWN HOW MUCH WE DREAD HAIR WASH DAY...because IT IS AN EVENT AND A PROCESS (whew...I had to get that off of my chest!). I was so tired after washing my hair, I didn't apply the hair gel to my hair like I normally would. All was fine, until the following day, I took down my hair, and within 30 minutes, my hair started to get shorter and shorter. DARN YOU SHRINKAGE!!
Freshly washed hair. Get into these CURLS and KINKS!

Random shrinkage :)

Shrinkage on colored hair. I miss this color! 

Awesome example of shrinkage!! Taken last year :)

Bun. Dat. Ish.! 

Curly shrunken bantu knot out


Shrinkage is something a lot of natural-haired people (especially women) love to hate. Just Google "shrinkage", and you will see a plethora of articles on how to combat, avoid, or prevent shrinkage. And to be honest, I have my moments too. My hair is gloriously stretched out looking awesome...then the moment I step outside, it is short, and feels less moisturized...GAAHHH!!

However, shrinkage is apart of the natural hair journey. PERIOD. One can attempt all the suggested methods on avoiding shrinkage, and yet...shrinkage will STILL occur. Aside from avoiding shrinkage, I think it's pretty cool that our hair can be short one minute, and look gloriously blown out the next. What other hair types do you know that can give you two completely different looks!? NONE THAT'S WHAT!! And it's BEAUTIFUL! We just have to become more comfortable with that characteristic when it comes to Black hair!

"Alright...maybe you don't wanna hear all of that! How do you deal with shrinkage Brie?"

I'm glad you asked. I either:

  • EMBRACE THAT ISH!!
  • PUFF THAT ISH!!!
  • BUN THAT ISH!!! 
  • PATIENCE! (the longer your hair is, shrinkage becomes less drastic!!)
That's it. LOL

Tell me your experiences with shrinkage or how you deal with it in the comments!

Talk to you guys soon. 

Brie.