I recently celebrated my six year natural hair anniversary (December 21, 2009) and decided to post one of my well worn hairstyles: DA PUFF. There is a method to my puff. And I warn you: this will be a picture-heavy tutorial.
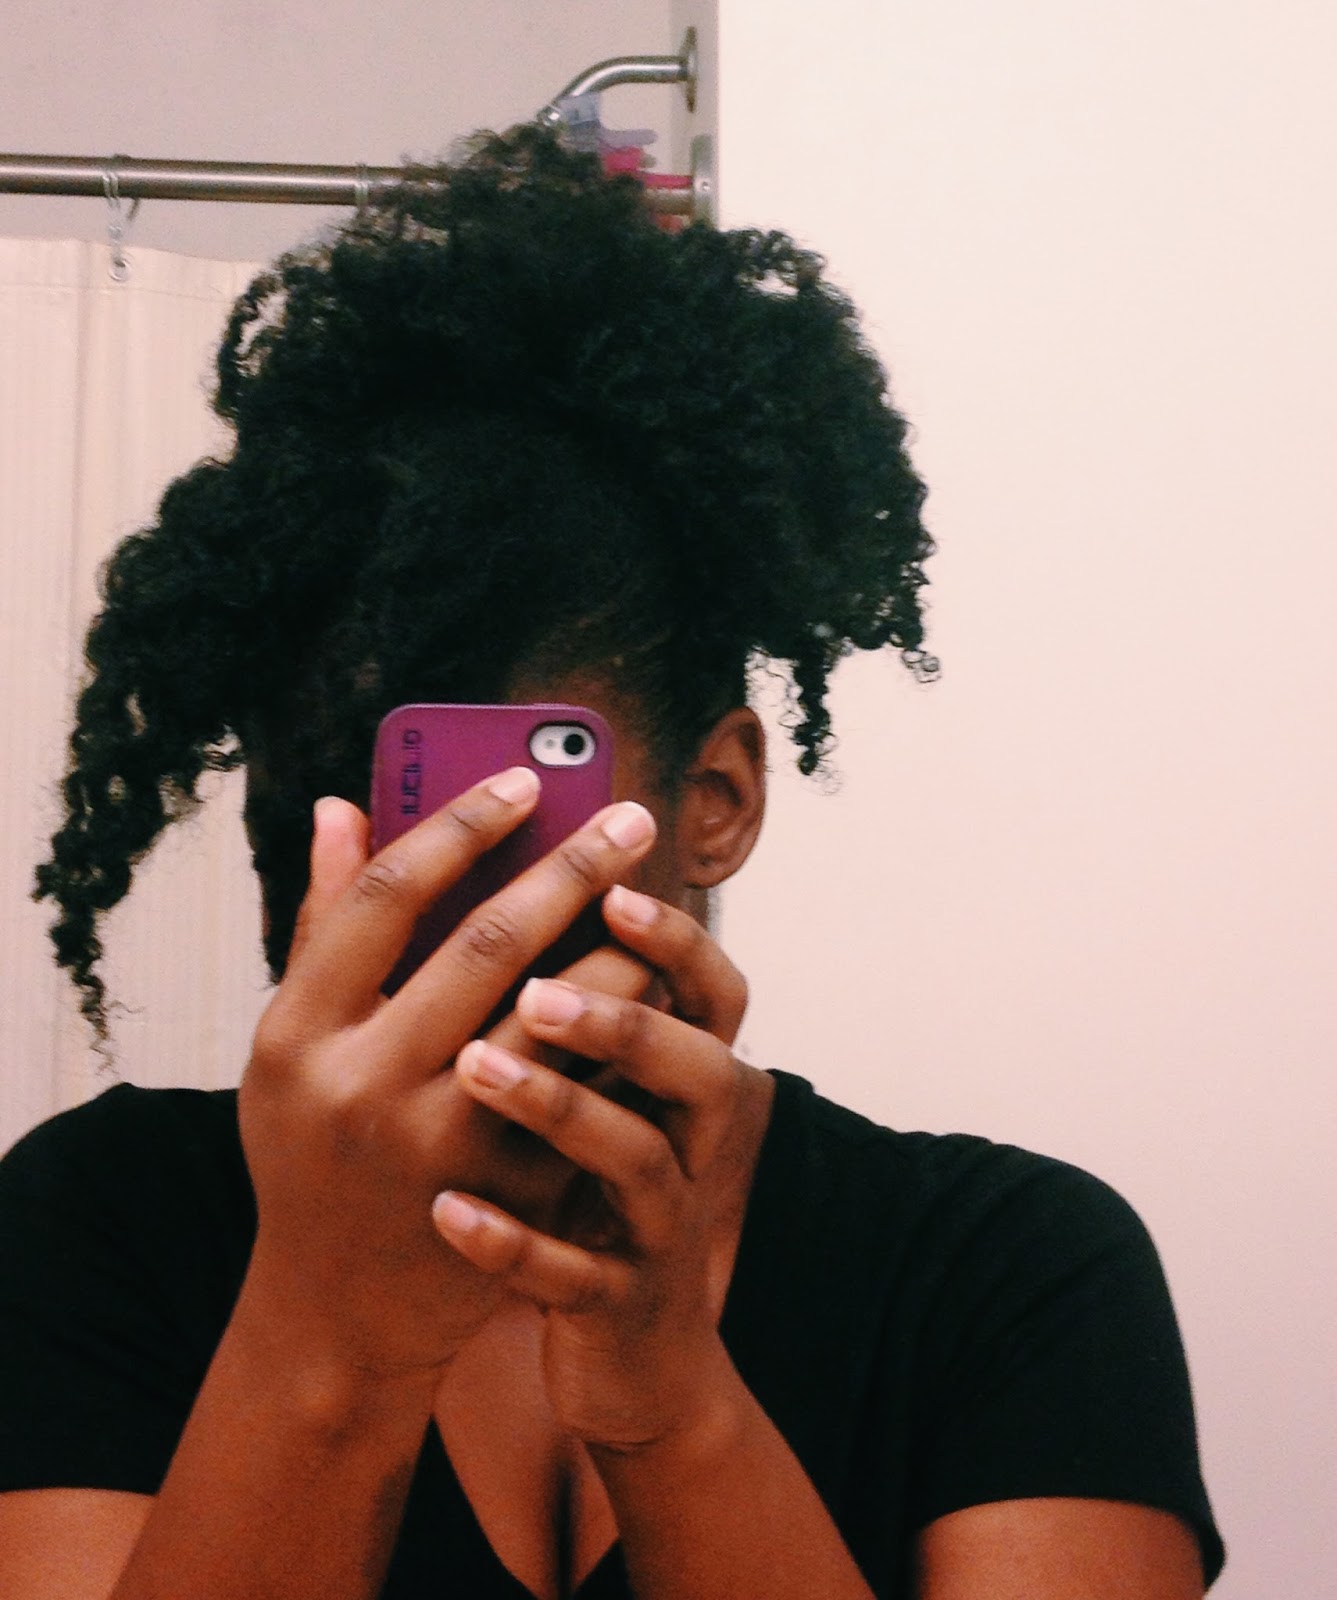
1. Start off with unstyled hair.


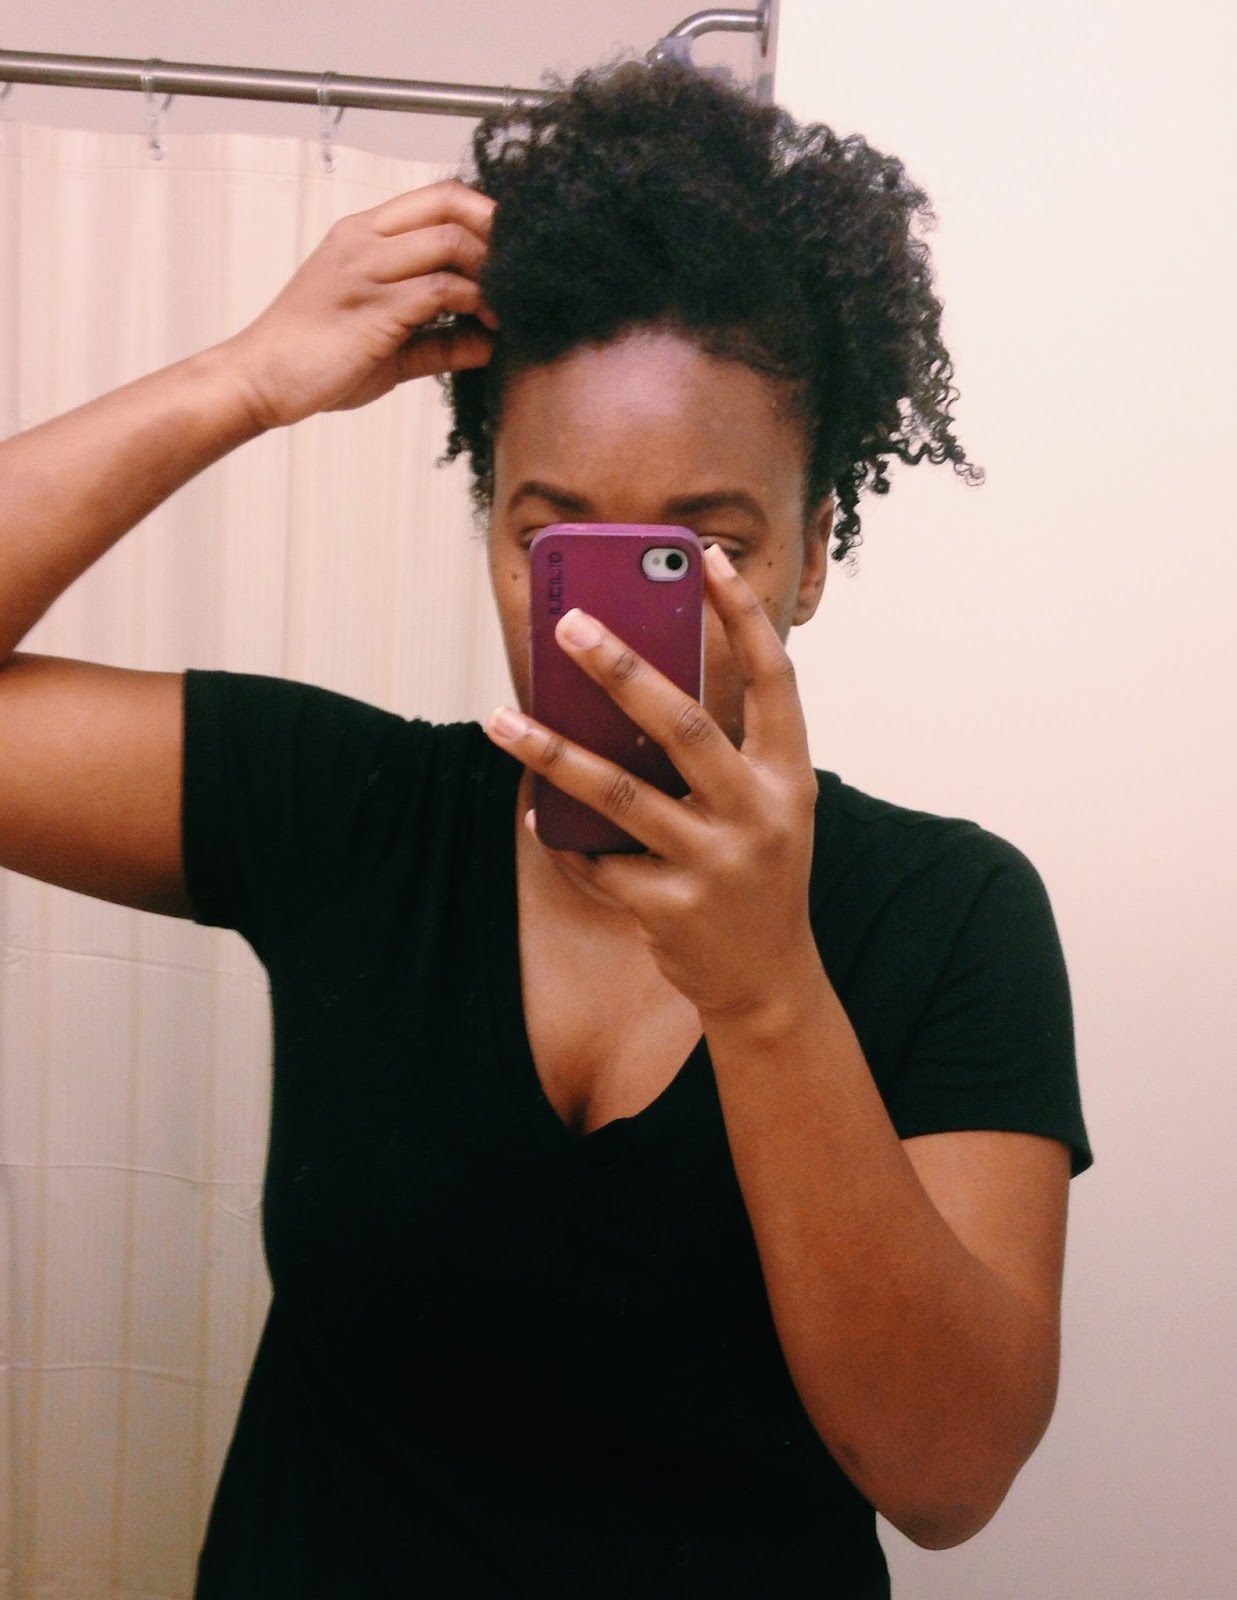
2. Section off front part of your hair and "pick" the remaining hair at the roots for volume. I do this for a more fuller puff.


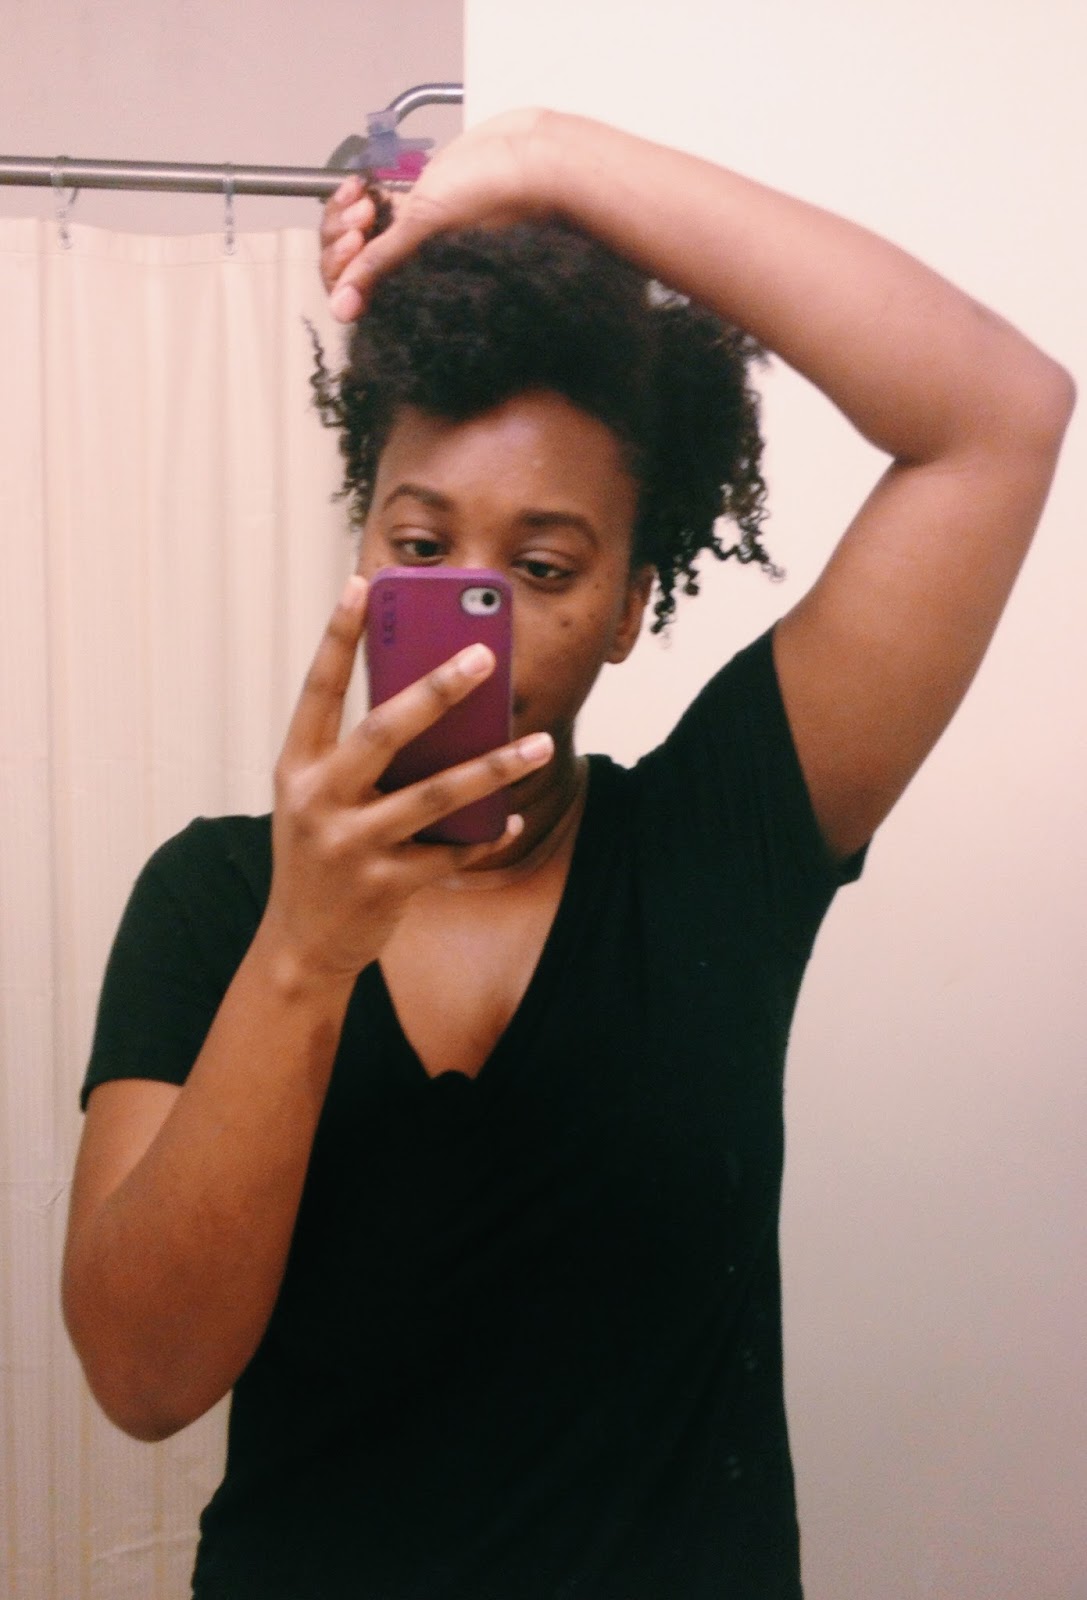
4. Place hair (not sectioned off) into a puff. I used a clean knee-high to create this puff.
"What are you going to do with the front section?" I'm glad you asked!
5. Take the ends of the front section and create a small puff in the front (called a pompadour) and pin the ends once you achieve your desired pompadour.


Or you can make a slanted pompadour...


Or you can loosely twist the front section, create a pompadour and pin the ends. You get a textured pompadour...


Or you can create a Janelle Monae styled pompadour (Hint: it's in the flick of the wrist)...


Or you can just go back to making the original puff/pompadour like I did. haha
 |
| Back view of puff/pompadour |
I hope this helps. Let me know how you style your puffs in the comments!
Talk to you soon.
Brie.
No comments:
Post a Comment